云原生
Kubernetes基础
容器技术介绍
Docker快速入门
Containerd快速入门
K8S主要资源罗列
认识YAML
API资源对象
Kubernetes安全掌控
Kubernetes网络
Kubernetes高级调度
Kubernetes 存储
Kubernetes集群维护
Skywalking全链路监控
ConfigMap&Secret场景应用
Kubernetes基础概念及核心组件
水平自动扩容和缩容HPA
Jenkins
k8s中部署jenkins并利用master-slave模式实现CICD
Jenkins构建过程中常见问题排查与解决
Jenkins部署在k8s集群之外使用动态slave模式
Jenkins基于Helm的应用发布
Jenkins Pipeline语法
EFKStack
EFK日志平台部署管理
海量数据下的EFK架构优化升级
基于Loki的日志收集系统
Ingress
基于Kubernetes的Ingress-Nginx解决方案
Ingress-Nginx高级配置
使用 Ingress-Nginx 进行灰度(金丝雀)发布
Ingress-nginx优化配置
APM
Skywalking全链路监控
基于Helm部署Skywalking
应用接入Skywalking
服务网格
Istio
基于Istio的微服务可观察性
基于Istio的微服务Gateway实战
Kubernetes高可用集群部署
Kuberntes部署MetalLB负载均衡器
Ceph
使用cephadm部署ceph集群
使用Rook部署Ceph存储集群
openstack
glance上传镜像失败
mariadb运行不起来
创建域和项目错误_1
创建域和项目错误_2
安装计算节点
时钟源
网络创建失败
本文档使用 MrDoc 发布
-
+
首页
使用cephadm部署ceph集群
# 1、准备工作 | 机器编号 | 主机名 | IP | | -------- | ------ | ---------- | | 1 | ceph01 | 10.0.1.211 | | 2 | ceph02 | 10.0.1.212 | | 3 | ceph03 | 10.0.1.213 | 关闭selinux、firewalld,配置hostname以及/etc/hosts ```Bash $ systemctl stop firewalld $ systemctl disable firewalld $ setenforce 0 $ sed -i 's#SELINUX=enforcing#SELINUX=disabled#g' /etc/sysconfig/selinux $ cat >> /etc/hosts <<EOF 10.0.1.211 ceph01 10.0.1.212 ceph02 10.0.1.213 ceph03 EOF ``` 为每一台机器都准备至少一块单独的磁盘(vmware下很方便增加虚拟磁盘),不需要格式化。 所有机器安装时间同步服务chrony ```Bash $ yum install -y chrony $ systemctl start chronyd $ systemctl enable chronyd ``` 设置yum源(ceph1上) ```Bash $ vi /etc/yum.repos.d/ceph.repo #内容如下 $ cat /etc/yum.repos.d/ceph.repo [ceph] name=ceph baseurl=http://mirrors.aliyun.com/ceph/rpm-pacific/el8/x86_64/ gpgcheck=0 priority =1 [ceph-noarch] name=cephnoarch baseurl=http://mirrors.aliyun.com/ceph/rpm-pacific/el8/noarch/ gpgcheck=0 priority =1 [ceph-source] name=Ceph source packages baseurl=http://mirrors.aliyun.com/ceph/rpm-pacific/el8/SRPMS gpgcheck=0 priority=1 ``` 所有机器安装docker-ce(ceph使用docker形式部署) 先安装yum-utils工具 ```Bash $ yum install -y yum-utils ``` 配置Docker官方的yum仓库,如果做过,可以跳过 ```Bash $ yum-config-manager --add-repo https://download.docker.com/linux/centos/docker-ce.repo ``` 安装docker-ce ```Bash $ yum install -y docker-ce ``` 启动服务 ```Bash $ systemctl start docker $ systemctl enable docker ``` 所有机器安装python3、lvm2(三台都做) ```Bash $ yum install -y python3 lvm2 ``` # 2、安装cephadm(ceph1上执行) ```Bash $ yum install -y cephadm ``` # 3、使用cephadm部署ceph(ceph1上) ```Bash $ cephadm bootstrap --mon-ip 10.0.1.211 # IP为ceph01的IP Ceph Dashboard is now available at: URL: https://ceph01:8443/ User: admin Password: sl6q1pzsa7 Enabling client.admin keyring and conf on hosts with "admin" label Enabling autotune for osd_memory_target ``` - 注意看用户名、密码 因网络问题导致镜像无法下载可以配置docker源 ```Bash cat > /etc/docker/daemon.json <<EOF { "registry-mirrors": ["https://e8uef4us.mirror.aliyuncs.com"] } EOF ``` # 4、访问dashboard 地址:https://10.0.1.211:8443 登陆后需要先更改密码  更改密码后使用新密码登录  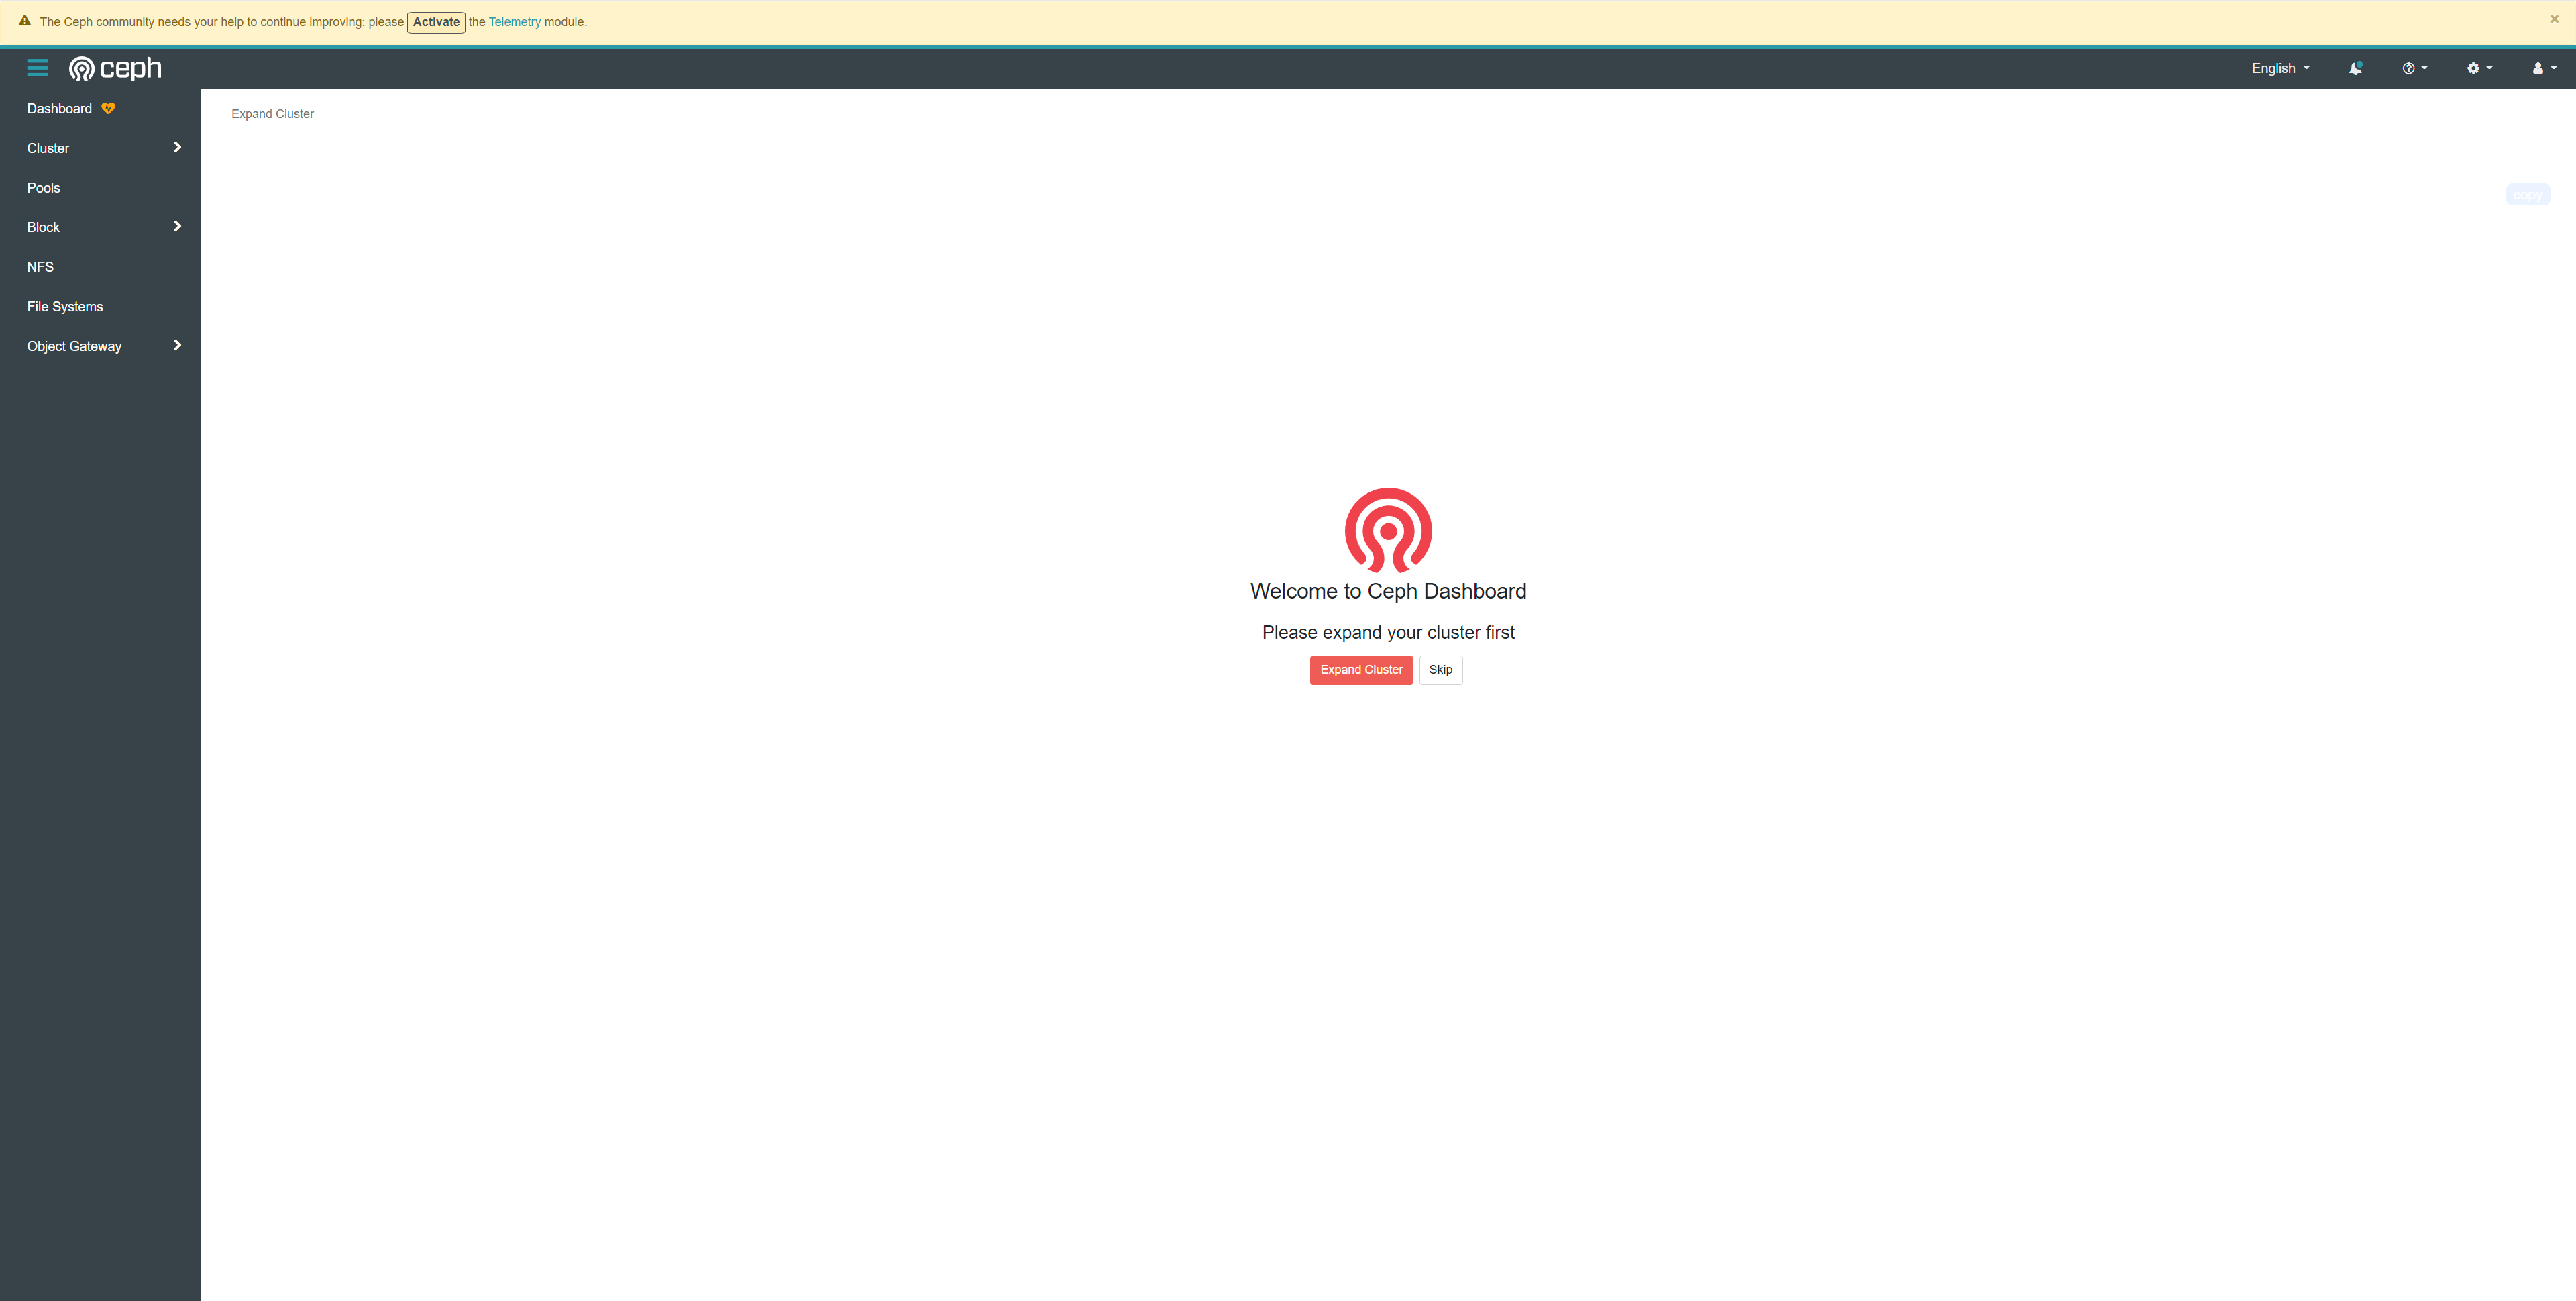 5、增加节点 首先进入ceph shell(ceph01上) ```Bash $ cephadm shell ##会进入ceph的shell界面下 Inferring fsid 69e2f148-7005-11ee-8438-00505684afef Using recent ceph image quay.io/ceph/ceph@sha256:2d92fe9c95e31bba4d9482194544bc3e78cae6c658bad219365203064c3e46e3 ``` 生成ssh密钥对儿 ```Bash [ceph: root@ceph1 /]# ceph cephadm get-pub-key > ~/ceph.pub ``` 配置到另外两台机器免密登录 ```Bash [ceph: root@ceph1 /]# ssh-copy-id -f -i ~/ceph.pub root@ceph02 [ceph: root@ceph1 /]# ssh-copy-id -f -i ~/ceph.pub root@ceph03 ``` 到浏览器里,增加主机 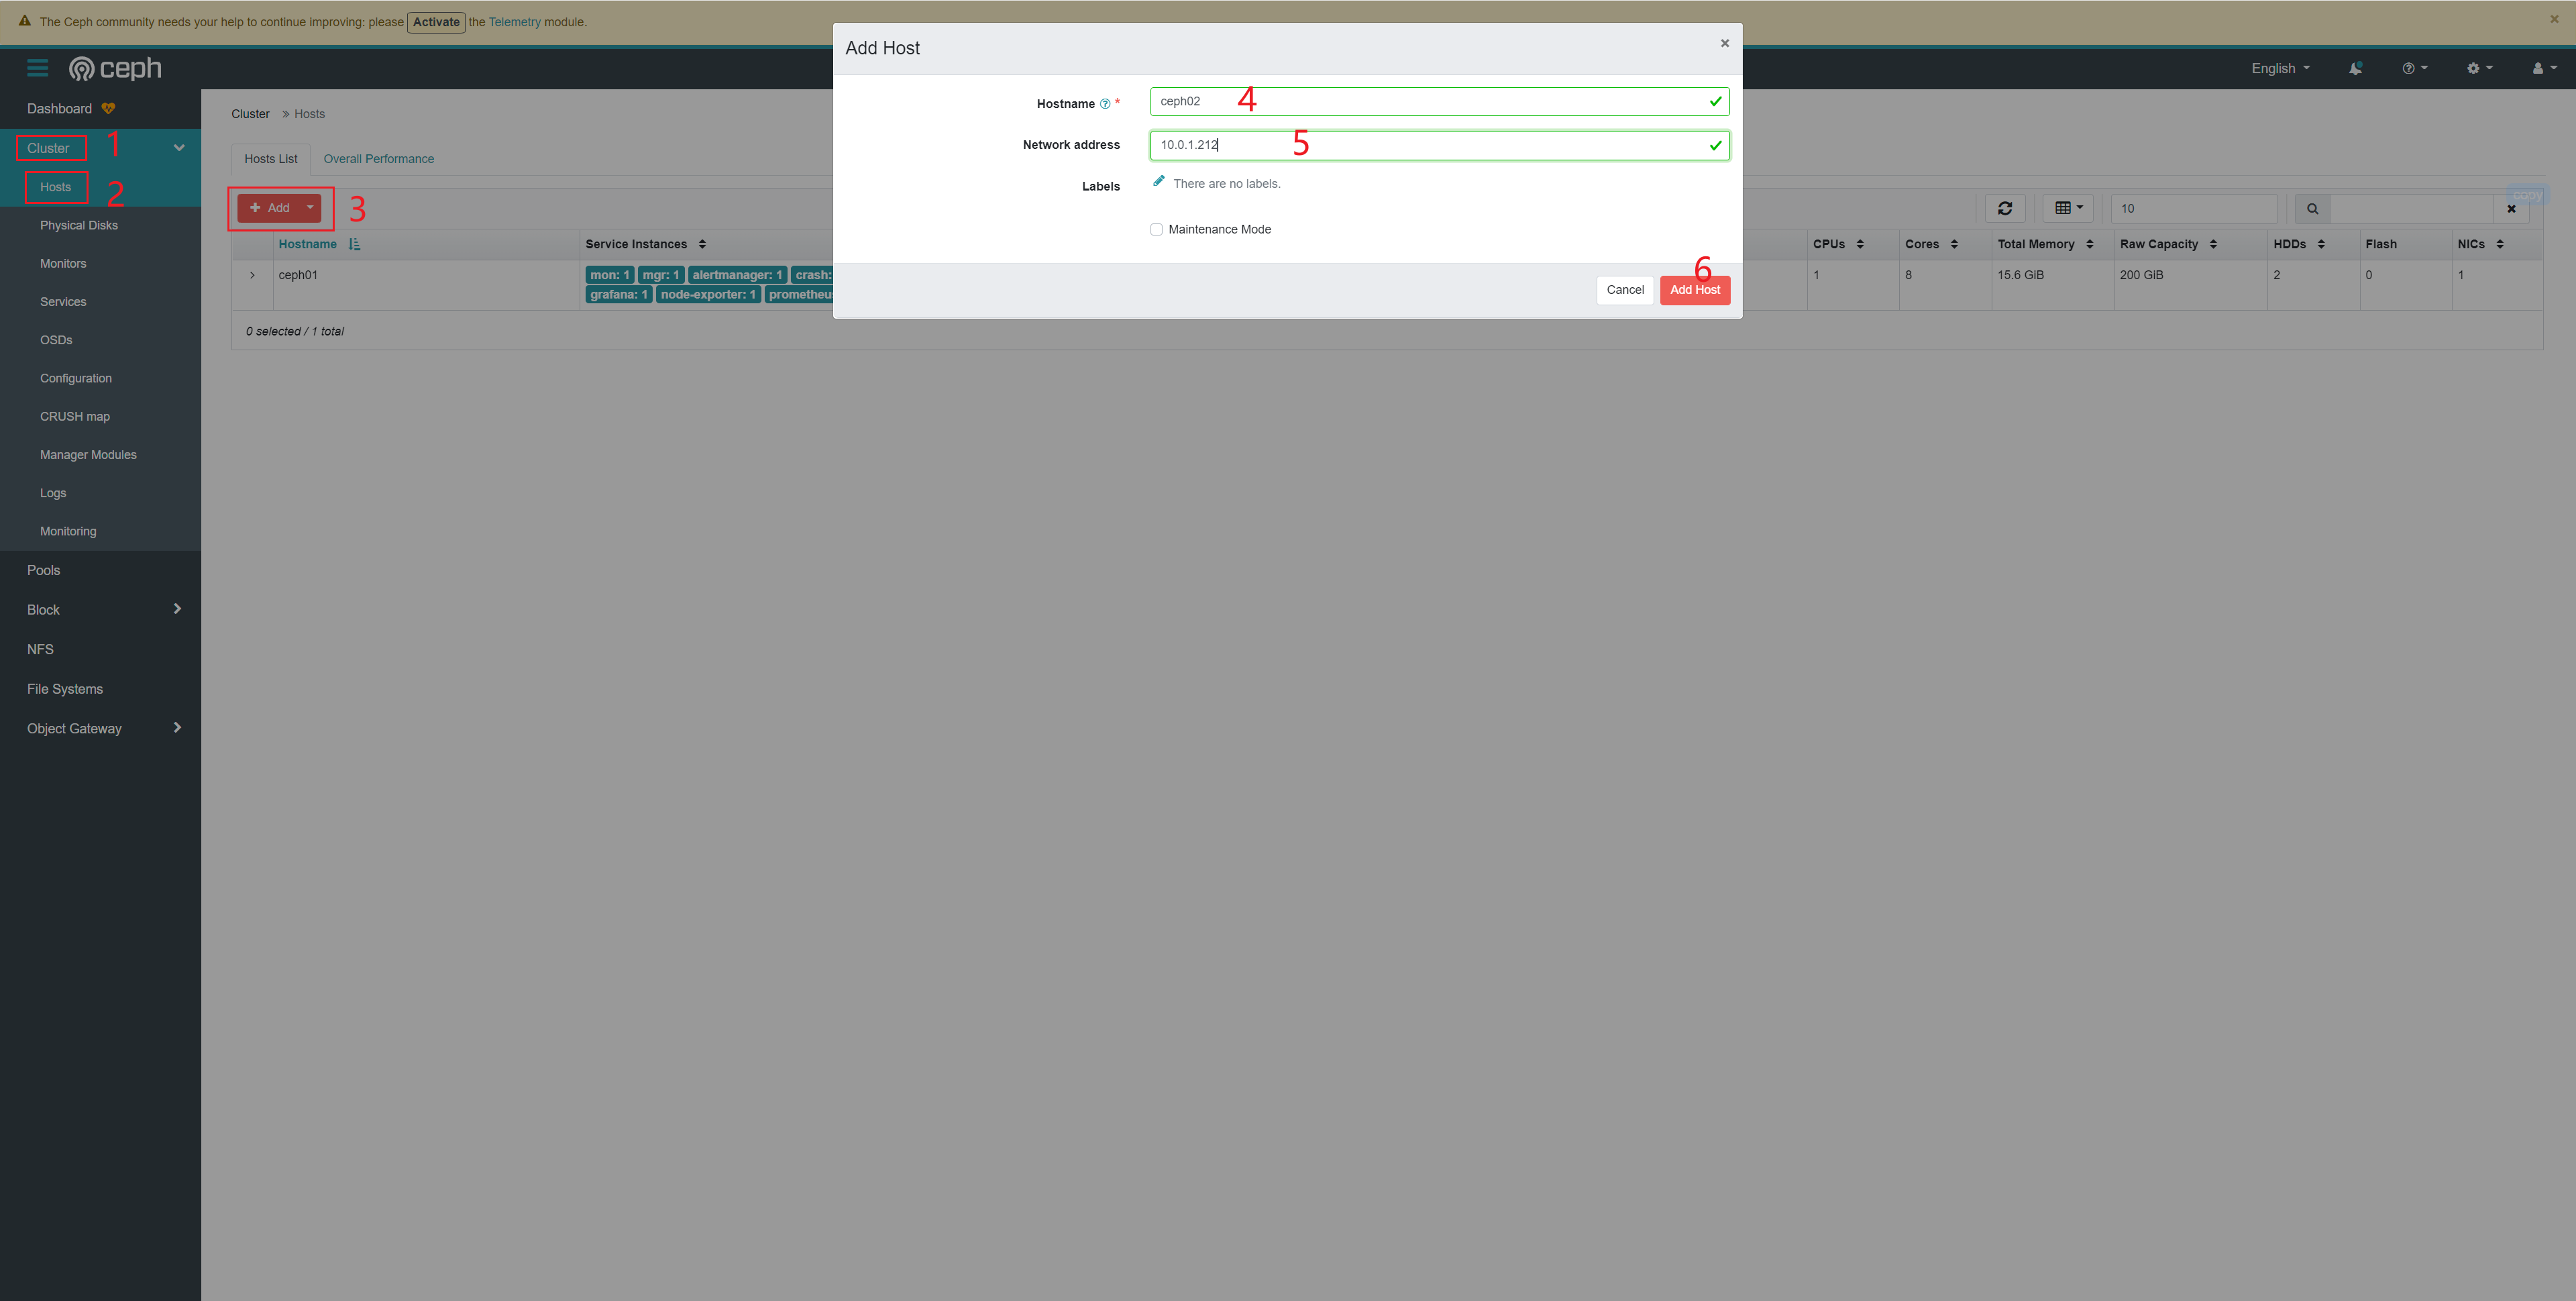 两个节点都需要添加,方法如上图 添加后如下图  6、创建OSD(ceph shell模式下,在ceph01上操作) 假设三台机器上新增的新磁盘为/dev/sdb ```Bash $ ceph orch daemon add osd ceph01:/dev/sdb $ ceph orch daemon add osd ceph02:/dev/sdb $ ceph orch daemon add osd ceph03:/dev/sdb ``` 查看磁盘列表: ```Bash $ ceph orch device ls HOST PATH TYPE DEVICE ID SIZE AVAILABLE REFRESHED REJECT REASONS ceph01 /dev/sdb hdd 100G 53s ago Insufficient space (<10 extents) on vgs, LVM detected, locked ceph02 /dev/sdb hdd 100G 23s ago Insufficient space (<10 extents) on vgs, LVM detected, locked ceph03 /dev/sdb hdd 100G Yes 95s ago ``` 此时dashboard上也可以看到 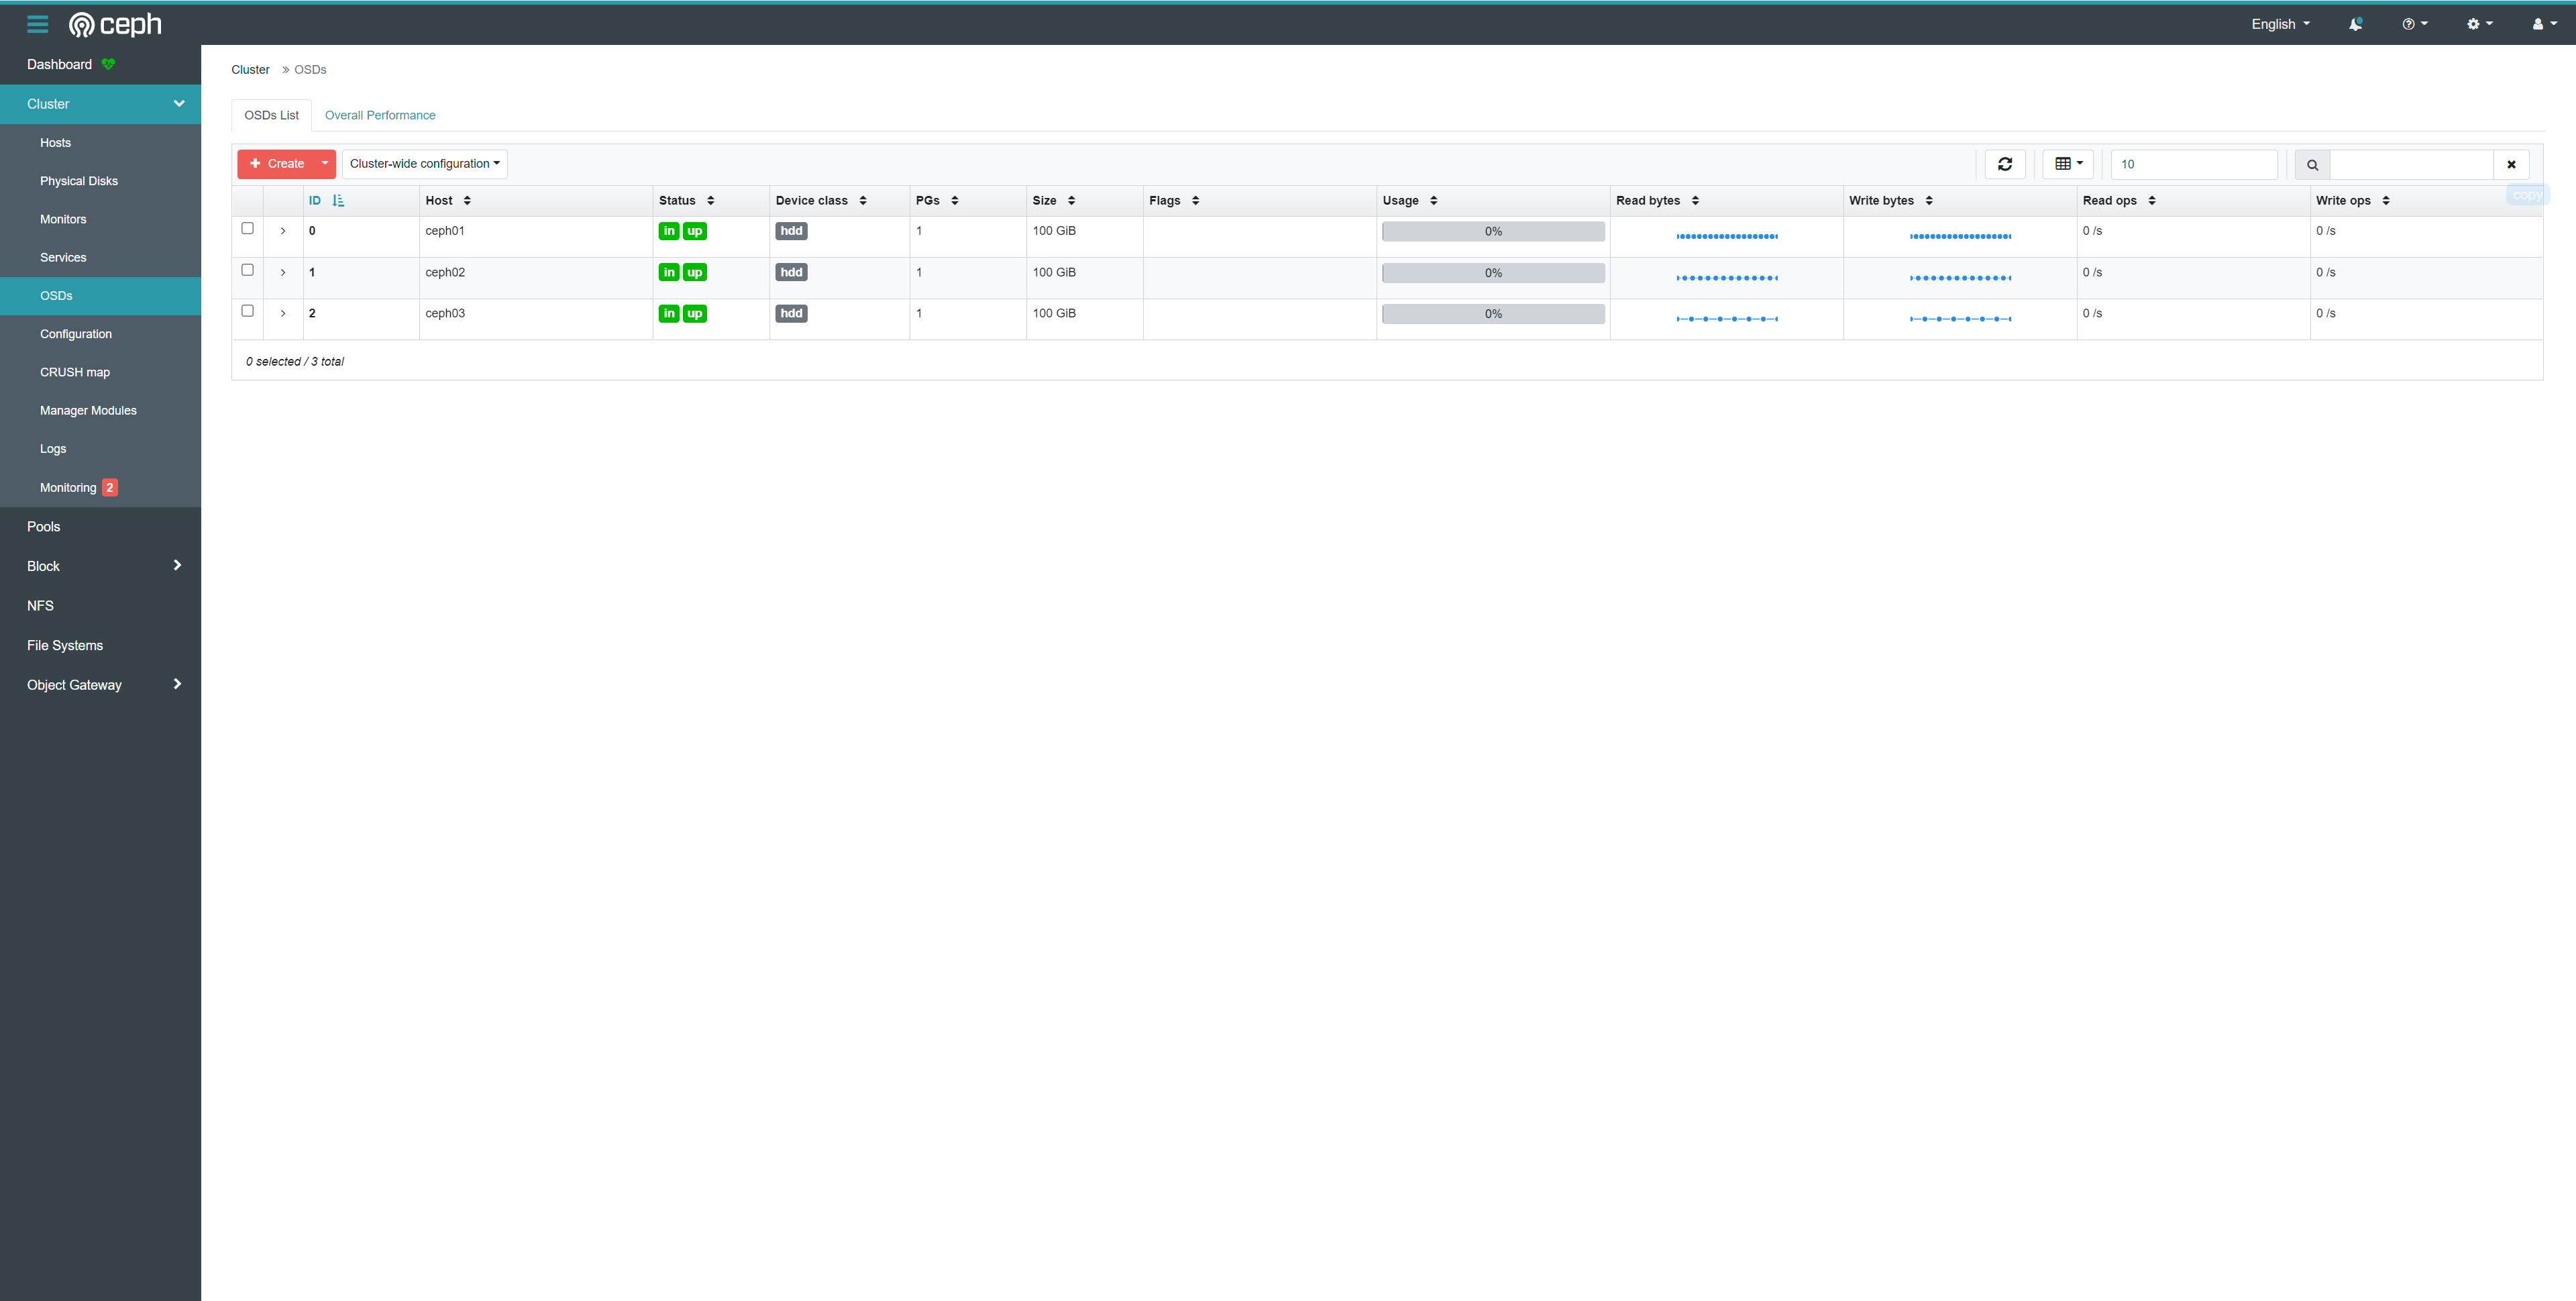 7、创建pool 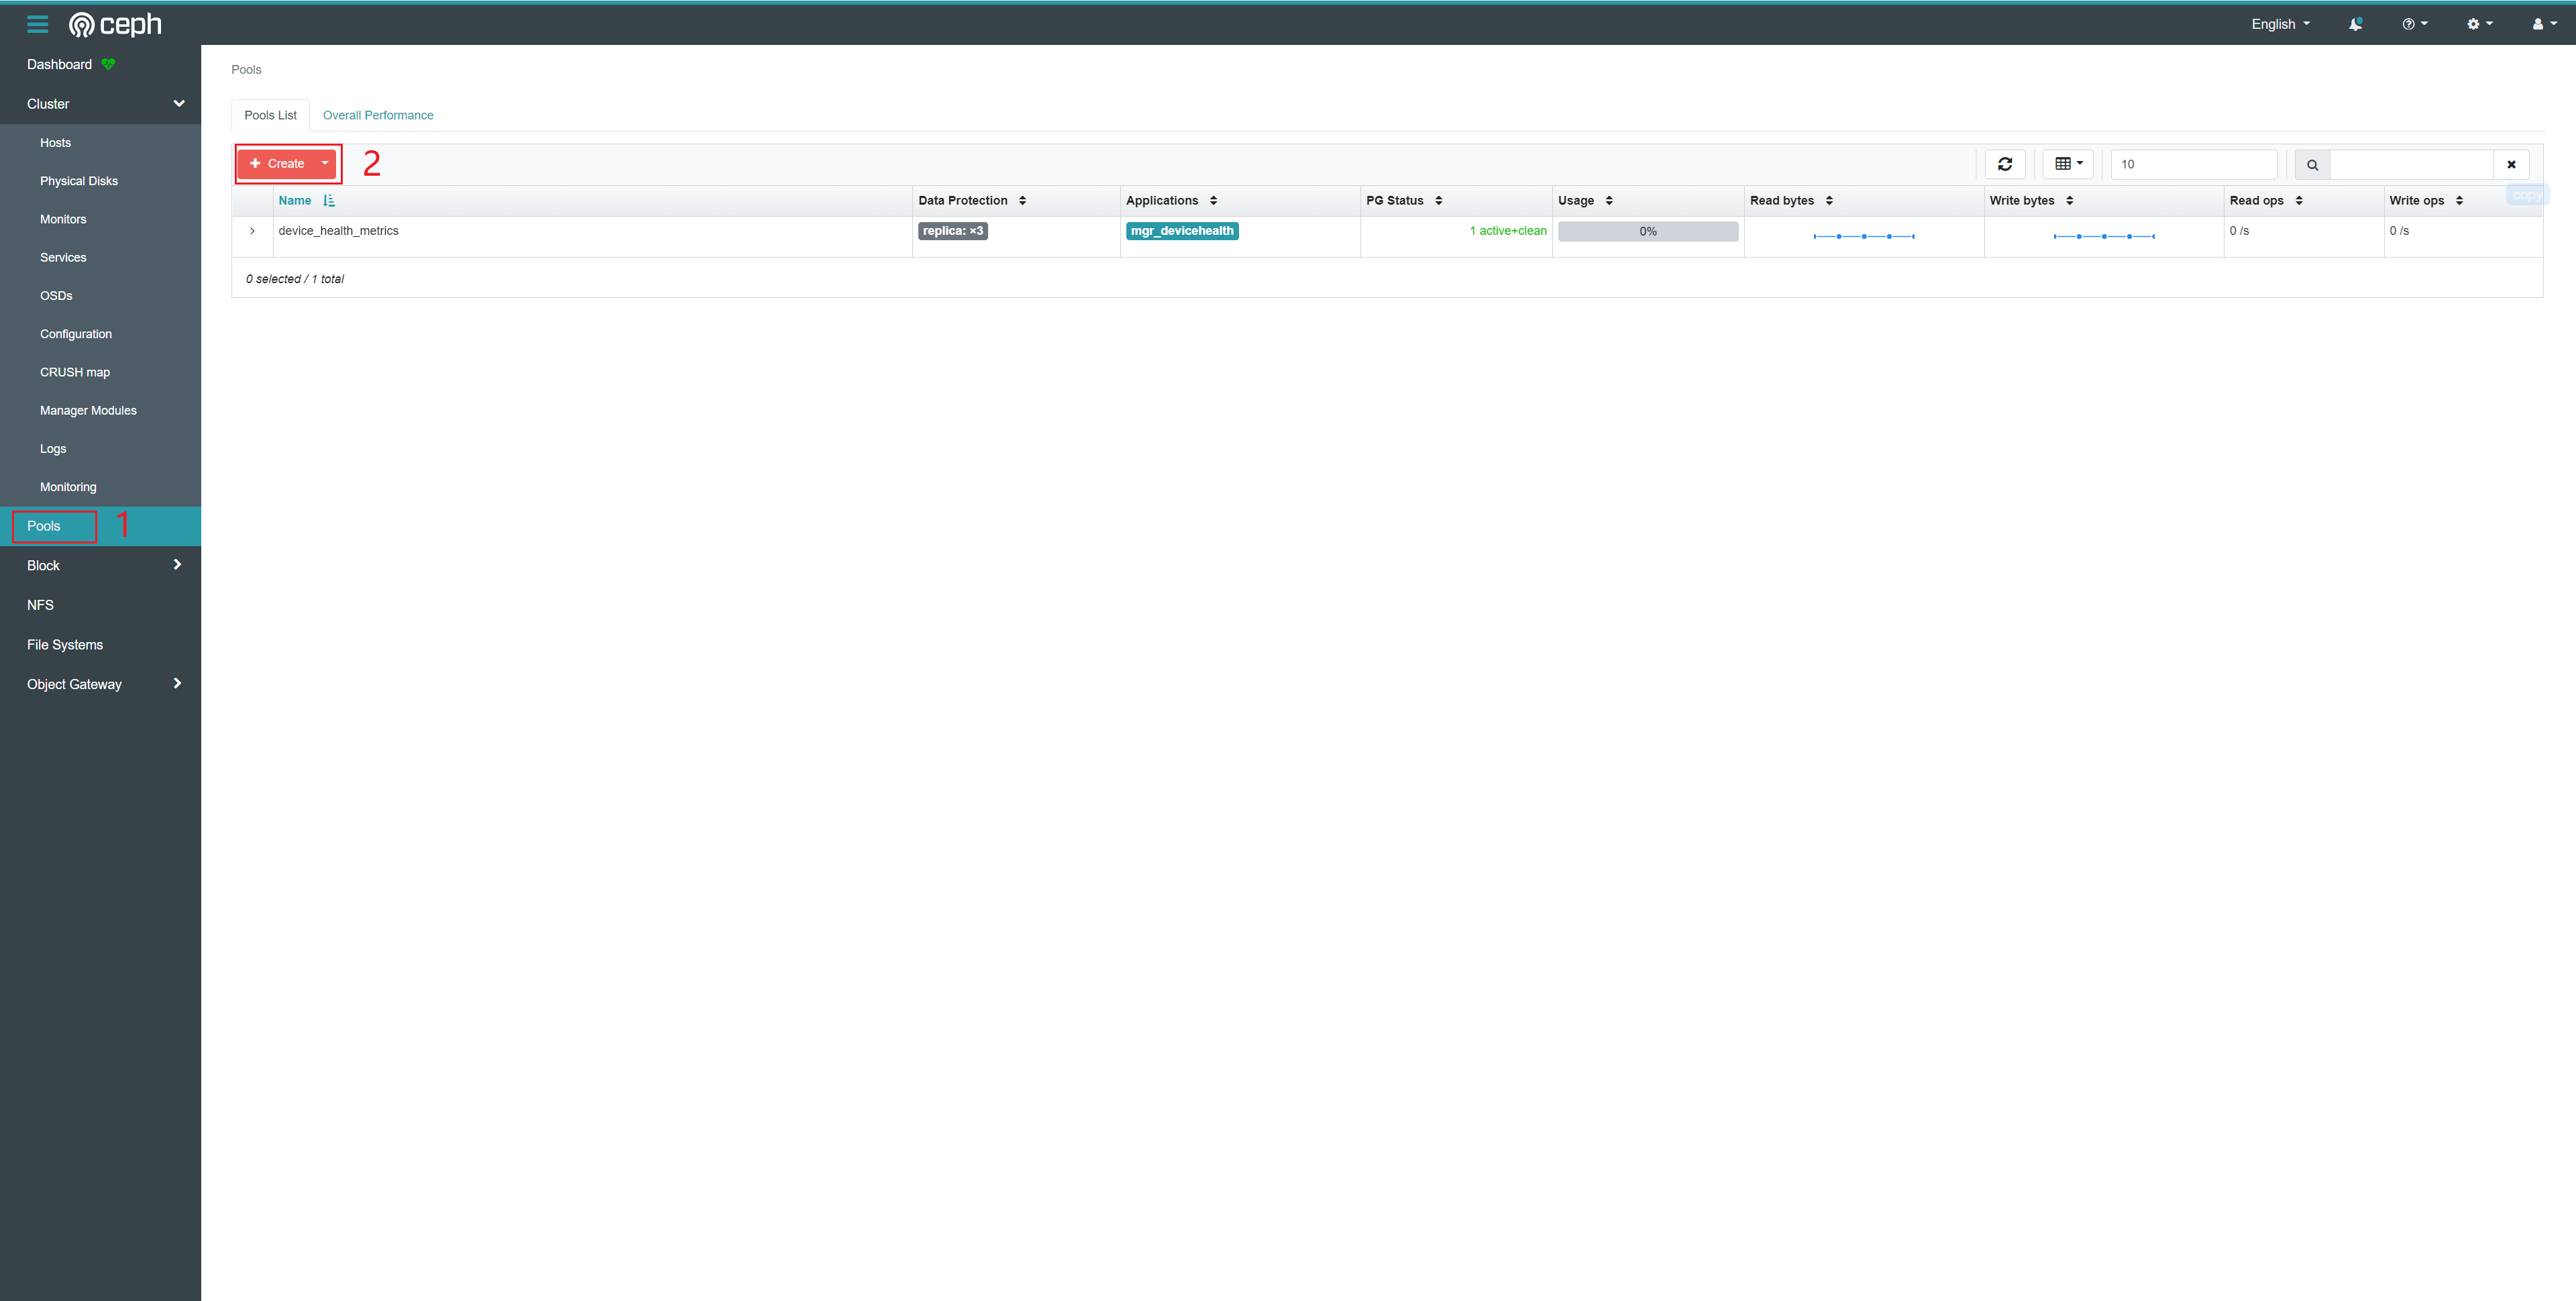  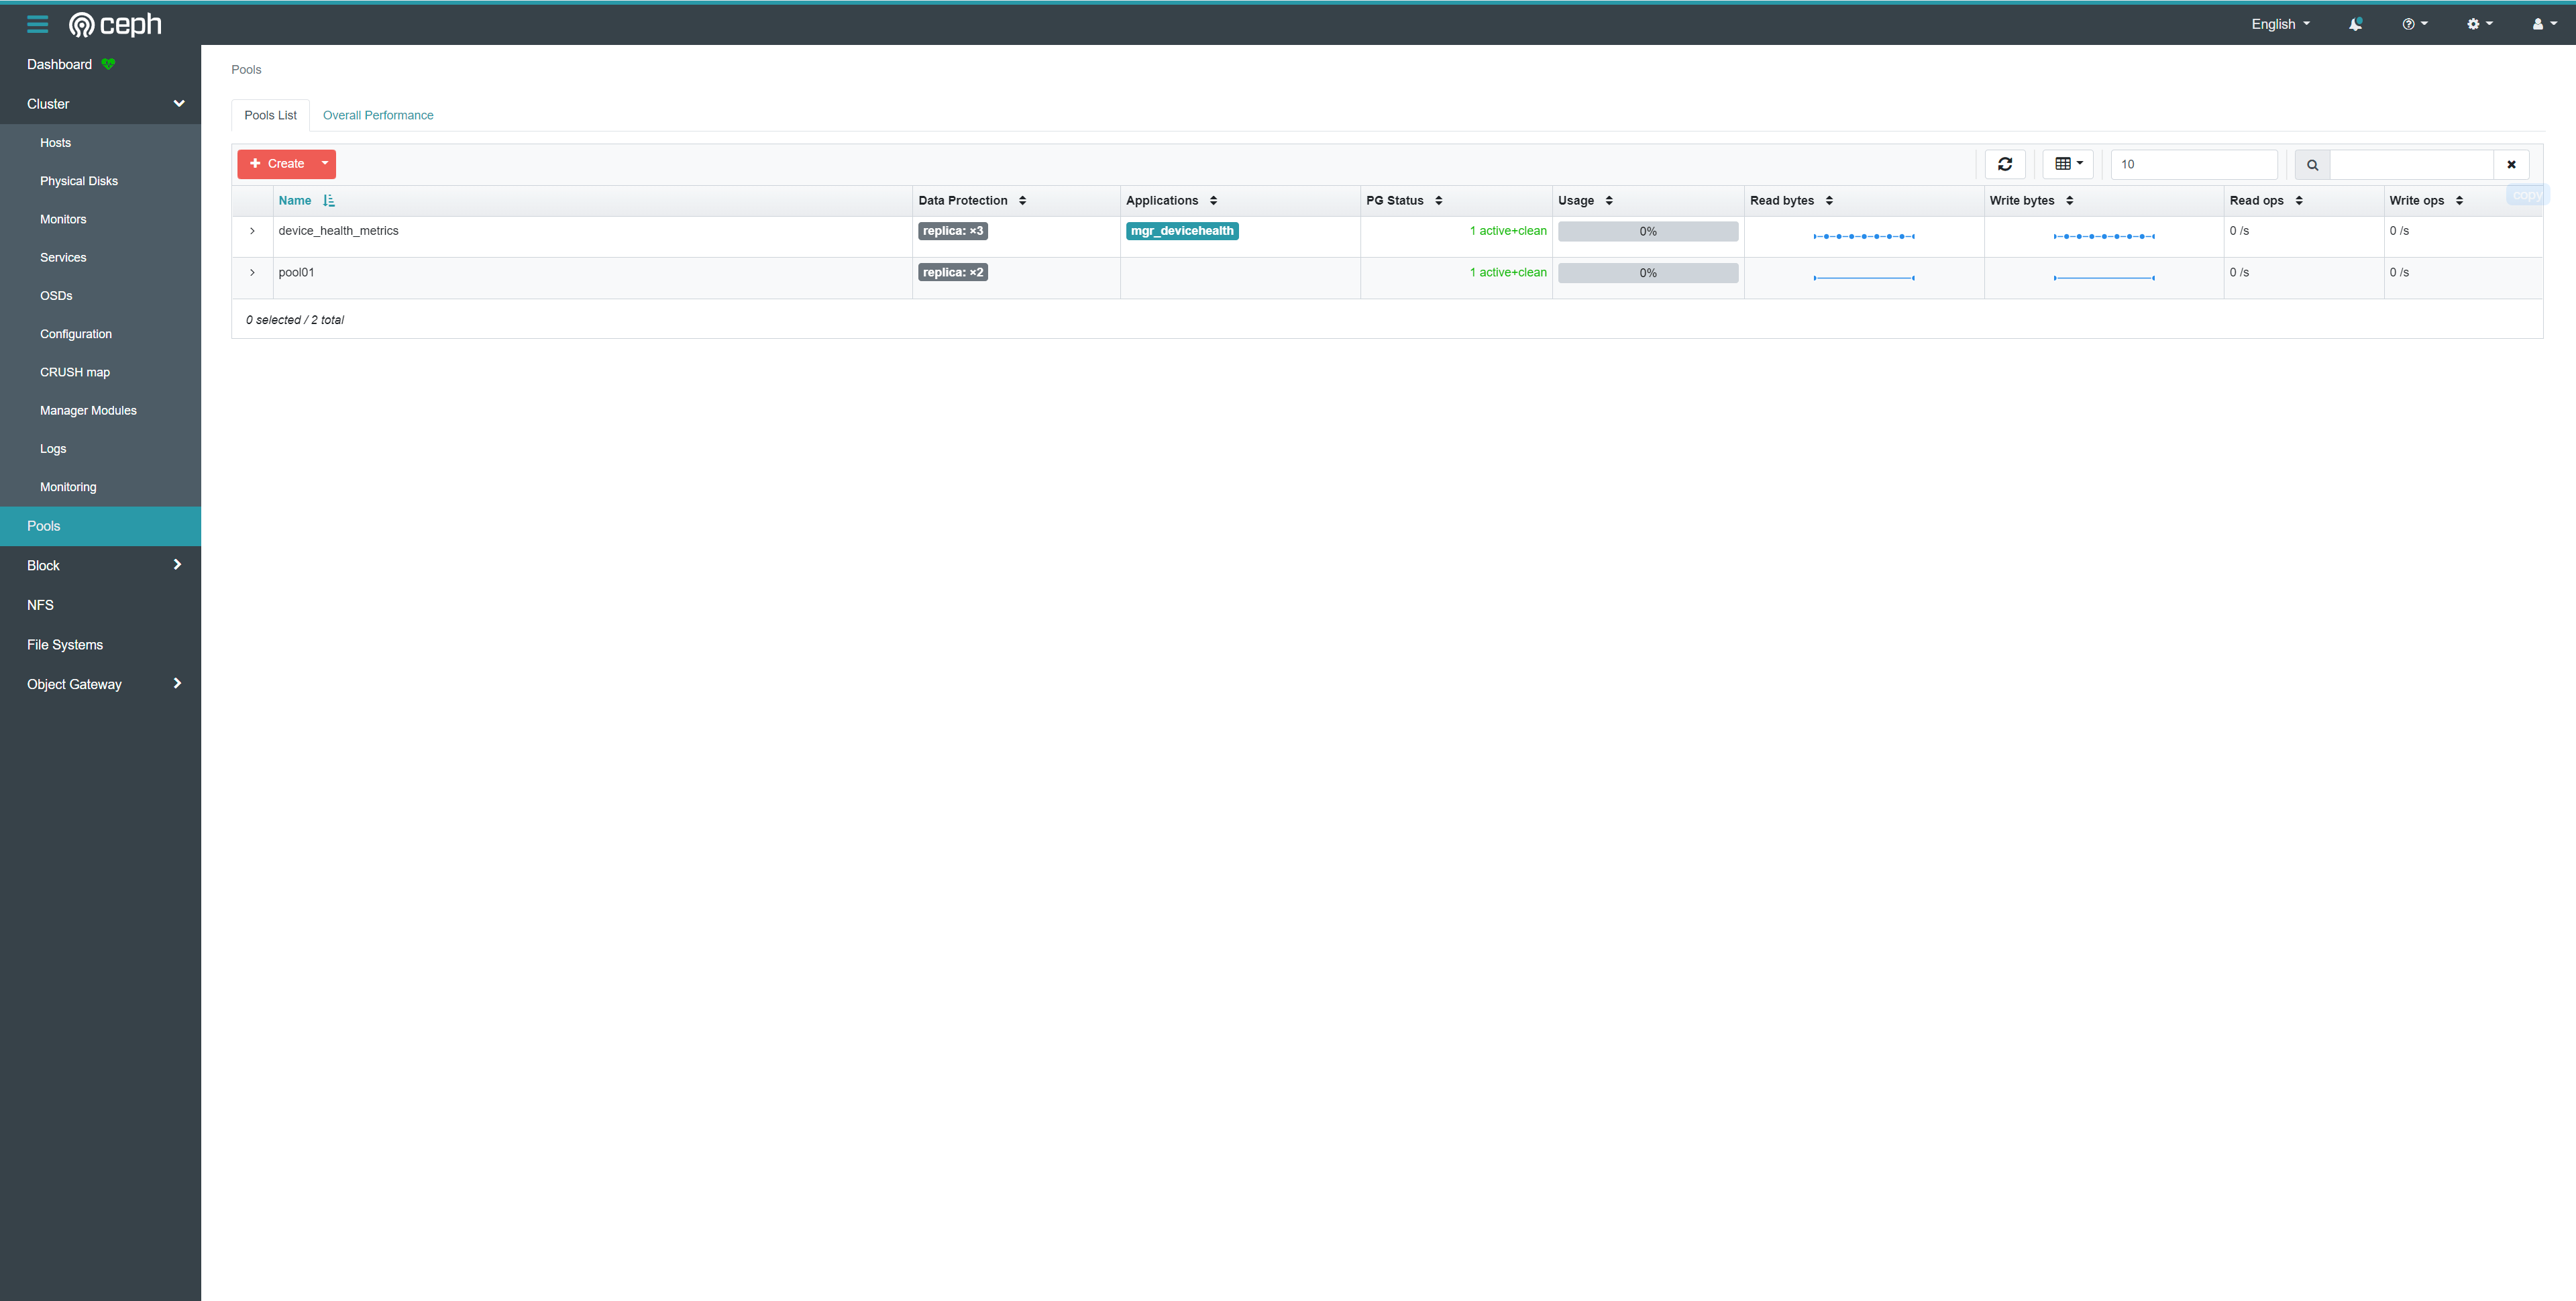 8、查看集群状态 ```Bash $ ceph -s cluster: id: 69e2f148-7005-11ee-8438-00505684afef health: HEALTH_OK services: mon: 3 daemons, quorum ceph01,ceph02,ceph03 (age 9m) mgr: ceph01.kymaix(active, since 23m), standbys: ceph02.vmtjjk osd: 3 osds: 3 up (since 7m), 3 in (since 8m) data: pools: 2 pools, 33 pgs objects: 0 objects, 0 B usage: 871 MiB used, 299 GiB / 300 GiB avail pgs: 33 active+clean progress: ``` - health为HEALTH_OK为正常 9、针对pool01 pool启用rbd application ```Bash $ ceph osd pool application enable pool01 rbd enabled application 'rbd' on pool 'pool01' ``` 10、初始化pool ```Bash $ rbd pool init pool01 ``` 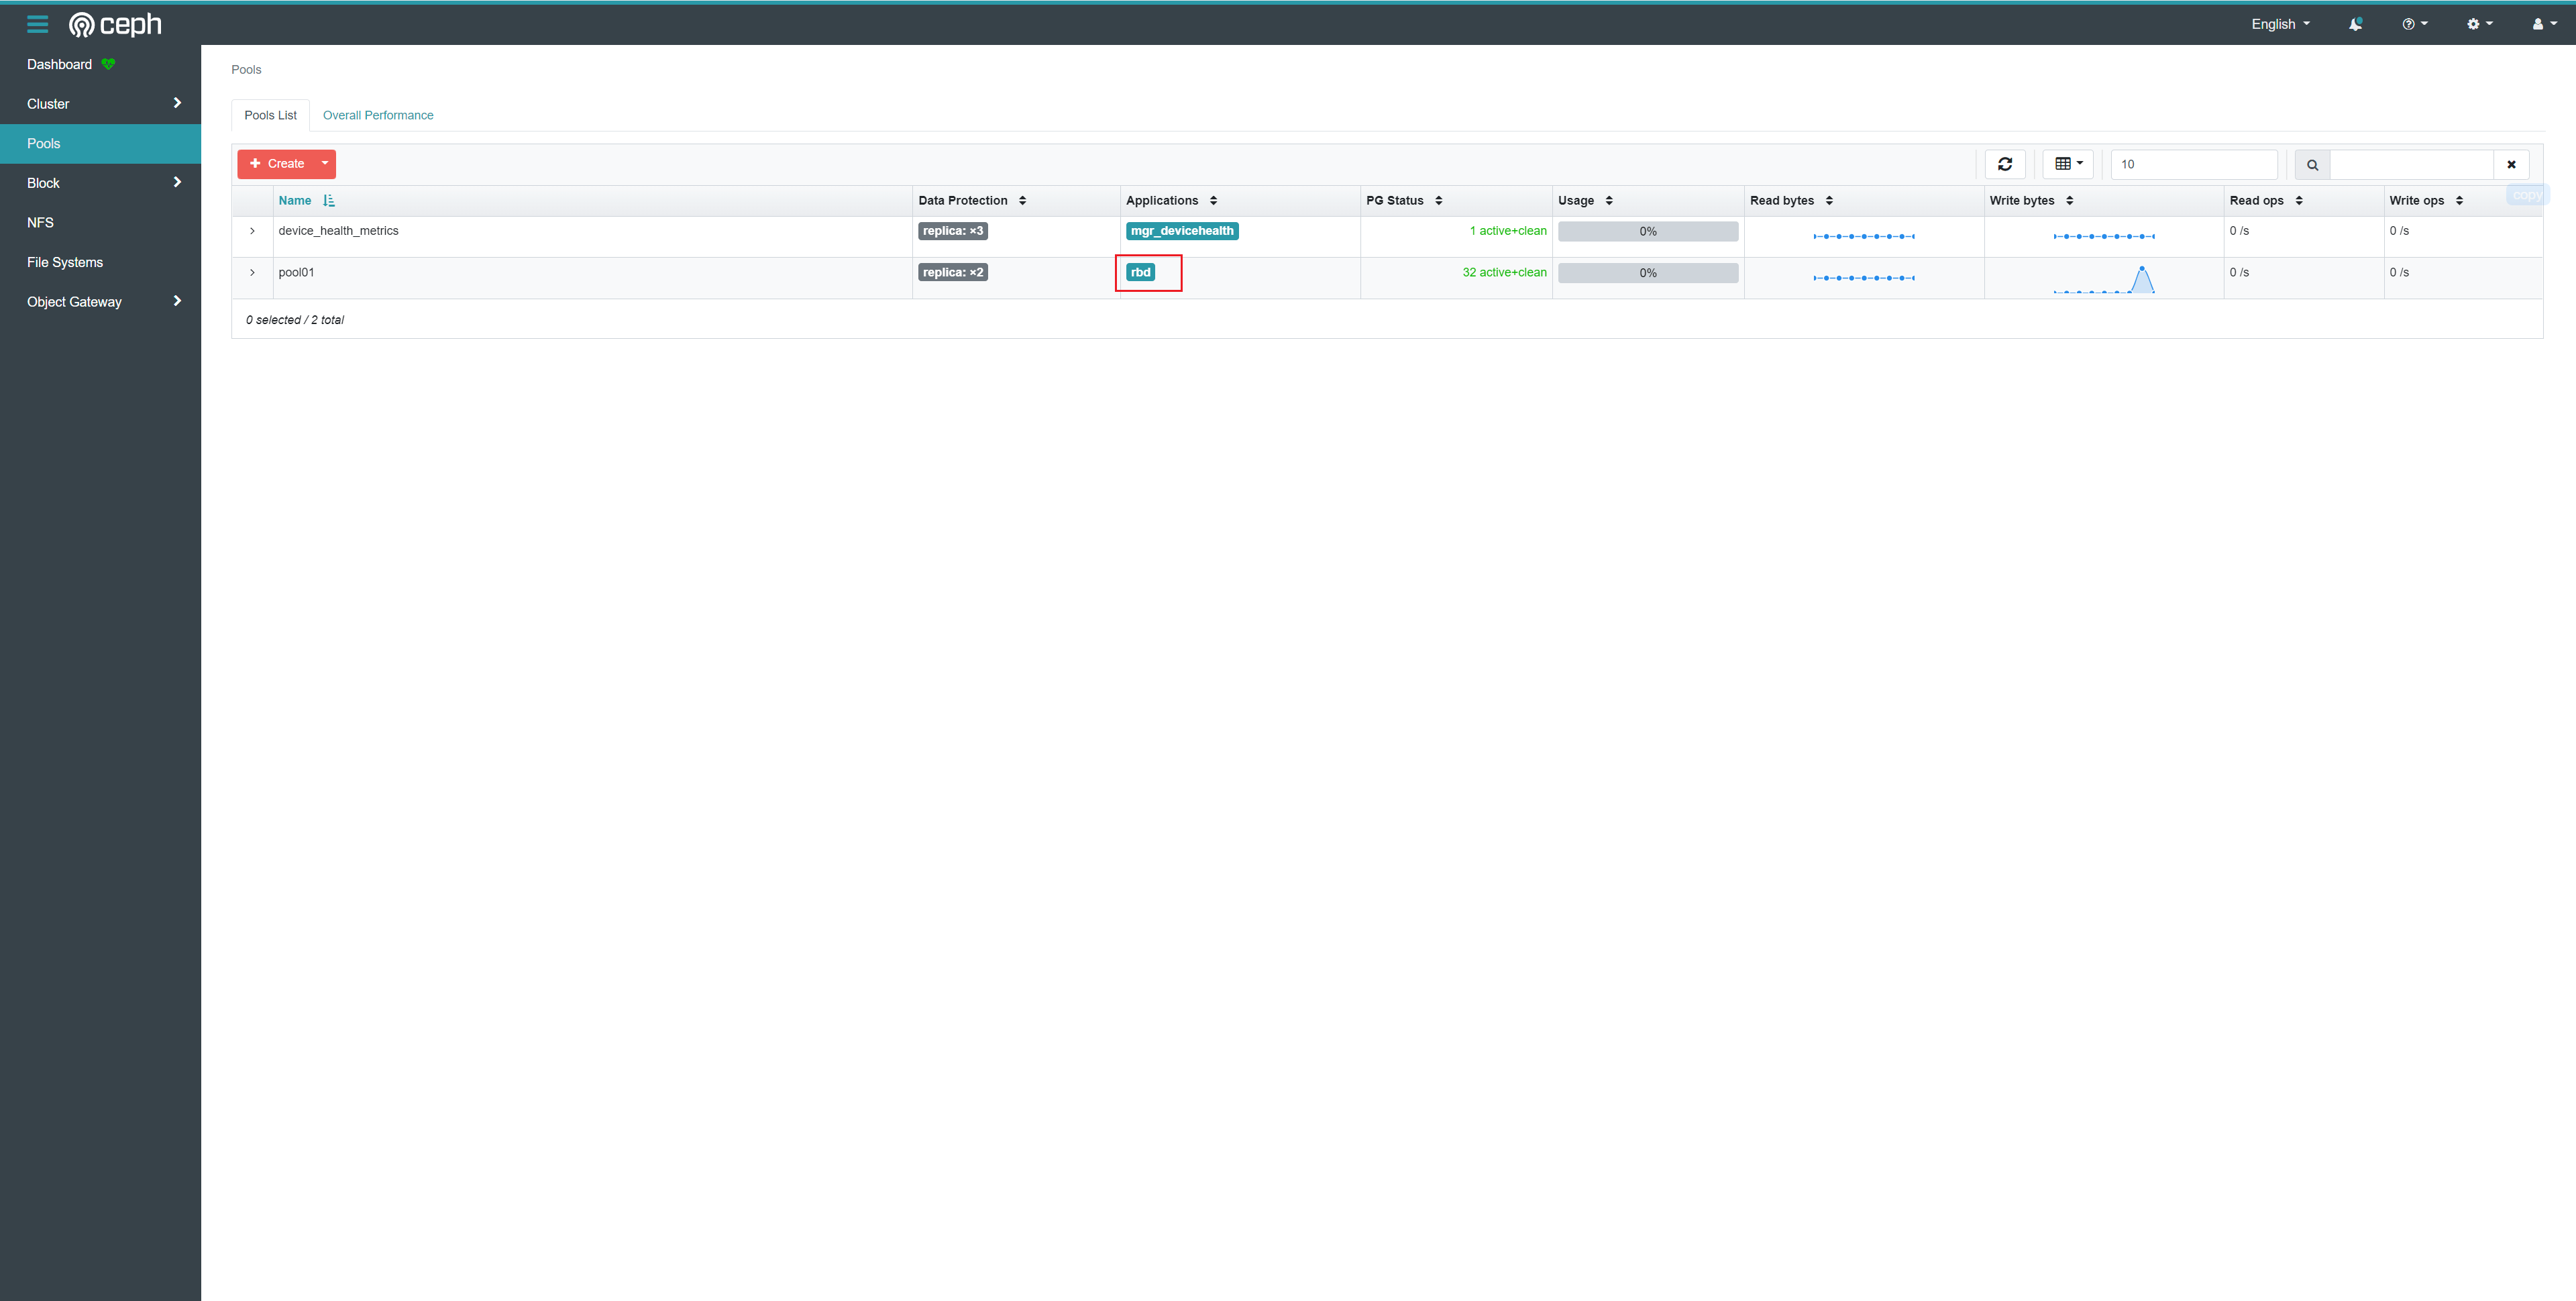
阿星
2024年1月27日 18:32
转发文档
收藏文档
上一篇
下一篇
手机扫码
复制链接
手机扫一扫转发分享
复制链接
📢 网站已迁移:
本站内容已迁移至新地址:
zhoumx.net
。
注意:
本网站将不再更新,请尽快访问新站点。
Markdown文件
PDF文档(打印)
分享
链接
类型
密码
更新密码